Search This Blog

Showing posts with label Apple. Show all posts

March 22, 2021

Fixed the issue: Security settings do not allow this Mac to use an external startup disk: when downgrading from macOS Big Sur to Catalina

2 weeks ago, I did the system update to install Big Sur on my work laptop. Running Selenium tests in Chrome was really slow and tests failed all the time.

It took about 4 mins to login to our portal. Very Slow. When using Safari to hit our portal, I got the same result.

Since this is the work laptop, I decided to downgrade from macOS Big Sur to Catalina. I watched many YouTube videos. This video is pretty good.

I followed the instruction, but I got the following screenshot.

Security settings do not allow this Mac to use an external startup disk


After looking into the issue, it was easy to fix it.

Went to Utilities -> Startup Security Utility. Logged into my credential.

Changed to Medium Security and chose Allow booting from external or removable media.


Restarted the machine using command + R. I finally saw the “Install macOS” option.


After installing Catalina, I set up everything for my Selenium Tests. Running the tests is very fast in Catalina, but not Big Sur. 
I am very happy to say that I “upgraded” from macOS Big Sur to Catalina on MacBook Pro successfully.

June 3, 2015

How to transfer data from iPhone 5 to iPhone 6 Plus via iTunes?

I got a used iPhone 6 Plus from my wife. If I would like to transfer data from my iPhone 5 to iPhone 6 Plus, here are the easy steps. I transferred the data successfully.

Reset iPhone 6 Plus.

Use USB to connect to iPhone 5 and Windows 7 laptop. It opens iTunes automatically.

Backup data in iPhone 5 first.

Use USB to connect to iPhone 6 plus and Windows 7 laptop.

Follow the instructions in iPhone 6 Plus and do step by step.

You will see Restore from iTunes backup.

Choose the name of iPhone 5 to restore and it takes about 10-20 minutes to transfer the data.

During the credit card setup in Apple Pay, I was not aware that my credit card in my apple account was expired. The setup was not working.  After I updated the credit card in my apple account, it was not working either because iTunes was not smart and didn’t sync well to iPhone 6 Plus.  I skipped the setup and did it later.

Follow the instruction in iPhone 6 Plus again and finally you will see all data is transferred successfully. 

August 23, 2014

Fixed the issue: iTunes could not back up iPhone because the backup was corrupt or not compatible with the iPhone

This morning my wife spoke to me that our 2 iPhones are quailed for “iPhone 5 Battery Replacement Program” and told me to back up my iPhone 5 into my laptop via iTunes.

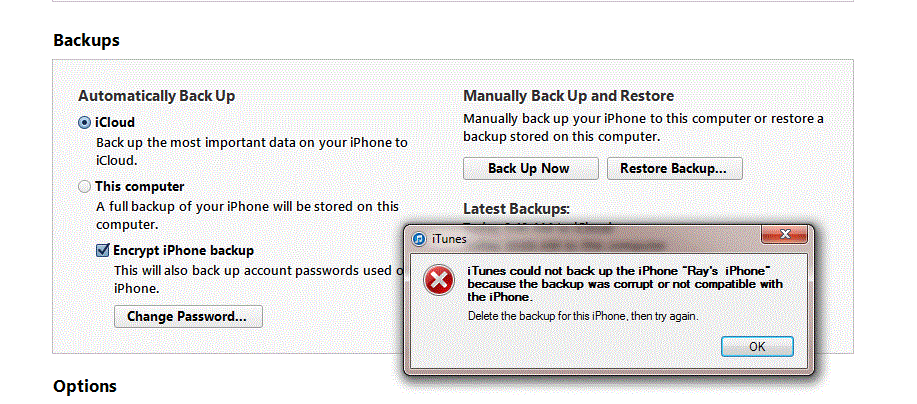
Therefore, I connected my iPhone 5 to Windows 7 laptop, opened iTunes and clicked “Back up now “ button. But  I got the following error message.

iTunes could not back up iPhone because the backup was corrupt or not compatible with the iPhone.


After looking into this issue, here are my steps to fix it.

Close iTunes , disconnect and reconnect iPhone 5 to laptop

Delete the files below the Backup folder

C:\Users\ray\AppData\Roaming\Apple Computer\MobileSync\Backup

Copy the files of video and photos from iPhone 5 to D drive 

Delete all video and photos


Open iTunes , do the backup again and you are all set.